


.jpg)
Remember film? If you’re old like me (lol!), you remember buying rolls of film and deciding whether you needed 200, 400, or 800. There were usually little pictures to show you when you’d need certain numbers. A picture of sun for 200, a picture of clouds for 400, and maybe a picture of a flash for 800. Well those numbers refer to ISO.
The acronym ISO refers to the International Standards Organization. In simpler terms, ISO is a way to adjust how sensitive your camera is to light. Look at your camera manual and see how to change your ISO setting. You’ll notice a few different options. ISO 100 is the lowest for most digital cameras and 1600 is the highest for many non-pro DSLR’s. If you set your camera on the lowest setting you are essentially telling your camera that you have lots of light to work with and you don’t need any extra help. You’d use this setting in a bright, sunny day.
When you bump up your ISO you are asking your camera for help in finding extra light for your image. Think about situations where you could have used some extra light. Your child’s school play. A concert. Church. A birthday party. Inside your home. In these instances, it would have been helpful to increase your ISO.
There is a catch though. The higher you go with ISO, the more digital grain or noise you are adding to your image. Noise is similar to the grain you used to see in old film photographs and can make your image lose sharpness and detail. Some people like it, others don’t. You are likely to get noise when using a super high ISO or even from cameras with a smaller sensor like your cell phone. The larger the sensor, the less grain at higher ISO’s. That’s why professional cameras are better (and more expensive) than consumer ones because they have a larger sensor and can handle grain better.
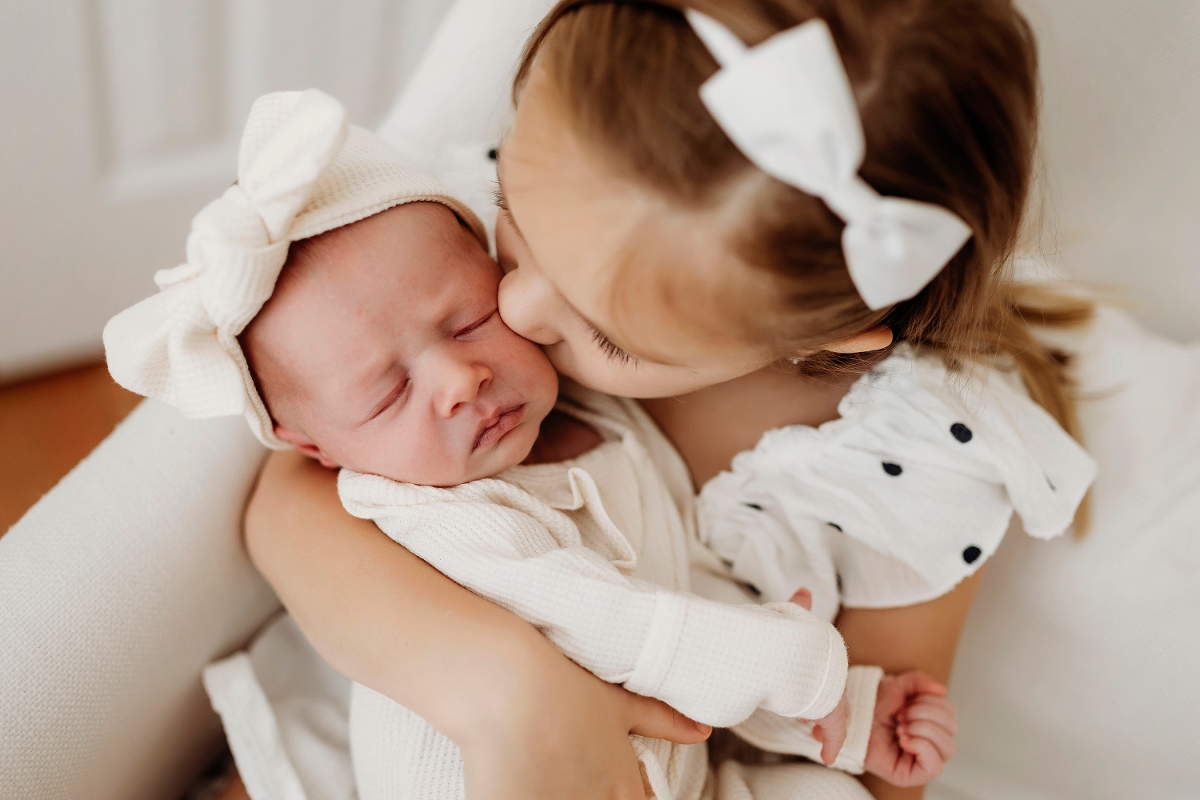
In this image, my ISO was up to 1000 because we were inside and it was a little dark. If I had moved him closer to the window behind me I could have lowered my ISO a bit, but they looked so adorable sitting on the couch. Plus, I like the contrast of the red. The good thing about shooting in manual is that I can choose my aperture, shutter speed, and ISO based on how I was the image to look. If I was shooting in Auto, the camera would have slowed down my shutter speed and increased my ISO in order to get a good exposure. I don’t want my camera making decisions for me!
We’ll talk more about shooting in manual as the weeks go by, but it’s better to experiment with other shooting modes first before you try and master manual.
If you’d like to receive these, and other great photography tips to your inbox every Friday. Sign up here or click the image!
.jpg)