


.jpg)
I mentioned aperture in my last post for A Click Away. Today I want to go a little more in depth. Aperture is the opening that lets light enter your camera. Aperture is measured in F-stops. A small aperture is a large F-stop and a large aperture is a small F-stop. Confused? I was at first, but the more you practice, the more you’ll understand. All you really need to know is the smaller the number, the more light that comes in to your camera. Think about it like your eyes. When it is really dark your pupils dilate (enlarge) to let more light in. It’s the same with your camera. Your aperture should be pretty wide open if you want to allow extra light in. This is where having a good lens comes in to play. A quality lens will allow you to get a larger aperture to be able to work better in low light situations. Most lenses that come with entry level DSLR’s have a limited range for aperture. A common kit lens is the 18-55 with an aperture range of 3.5-5.6. That means the lowest F-stop you can get is 3.5. Just to compare, I have a 50 mm lens that opens up to 1.2. I have about 7 extra F-stops which means my aperture can open nice and wide and let in a lot more light than the kit lens. Does that make sense?
The aperture on your camera can be changed in two different ways. You can switch to Aperture Priority Mode or shoot in Manual. Aperture Priority Mode allows you to choose the F-stop you want and the camera will choose the rest. When I first started learning to use my camera, I shot in Aperture Priority Mode. You can find this mode on your camera dial. Using Aperture Priority Mode is a great way to experiment. Pick a different F-stop each time and see how it affects your image. You’ll notice that it not only affects the amount of light in your image, it’ll also change the depth of field.
Depth of field is the area in front of and behind your subject that’s in focus. Aperture is one of the things that will determine whether you get a shallow depth of field (a blurry background) or a greater depth of field (more in focus). To get a shallow DOF, you want to use a large aperture (small F-stop). This will help to isolate your subject and make it stand out. When you’re photographing children this can be a really great tool to minimize background distractions. The tricky part is, a shallow depth of field gives you more of an opportunity for important parts of your image to be out of focus. One of the things that has helped me with understanding depth of field is realizing that when you focus on something you are focusing on a plane, not just one object. Everything in that plane will end up in focus. The plane runs straight across your image. Here’s an example.
.png)
Can you see the plane of focus in this image? The straight line that runs across the rug where the second toy is in focus? Bonus points for anyone who knows the character’s name from Monsters University! So if I were shooting a family at F2, I would want to make sure that each person is on that plane. This is one of the reasons I am always asking my clients, especially families, to get super close. As long as their faces all end up on the same plane, they’ll all be in focus and I can still have that nice blurry background.
It takes a ton of practice to shoot at such a shallow depth of field. Kids move – a lot! There’s always a chance they’ll wiggle out of the spot you need them to be in. If you want to practice with a small F-stop, do it on a stationary object. Flowers. Stuffed animals. Food. Toys.
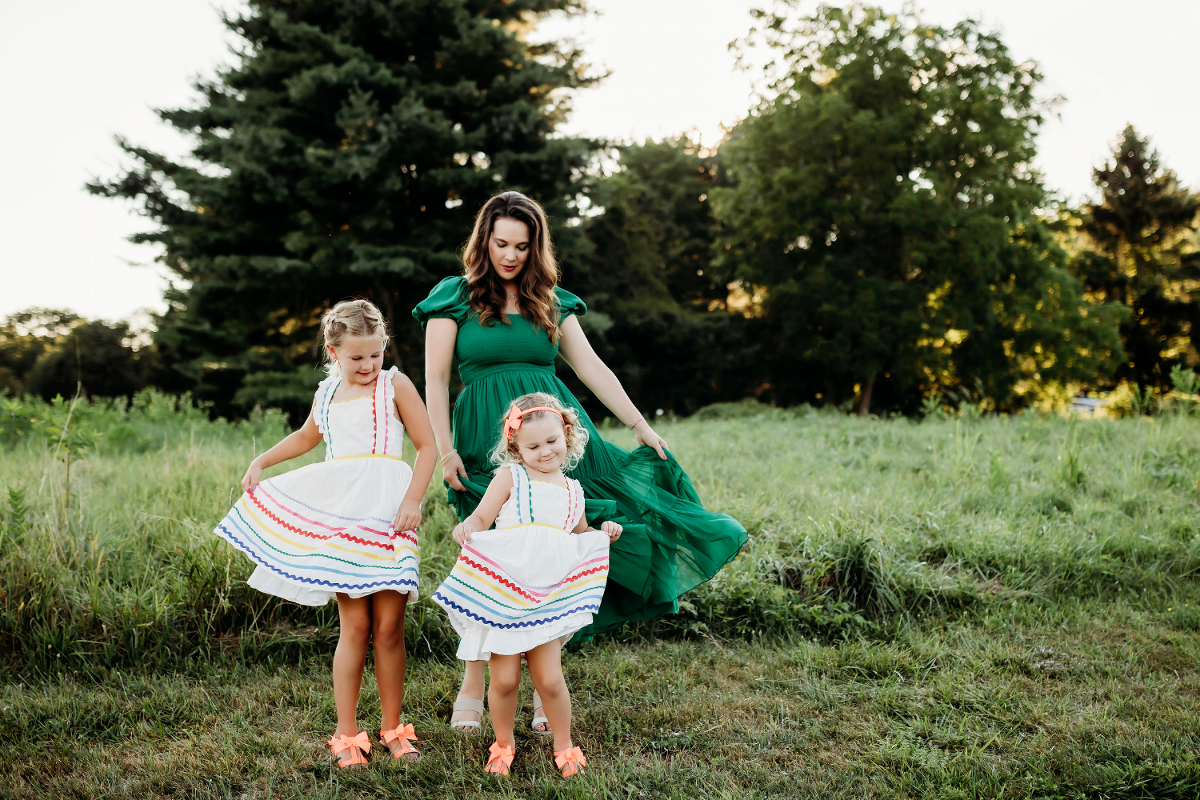
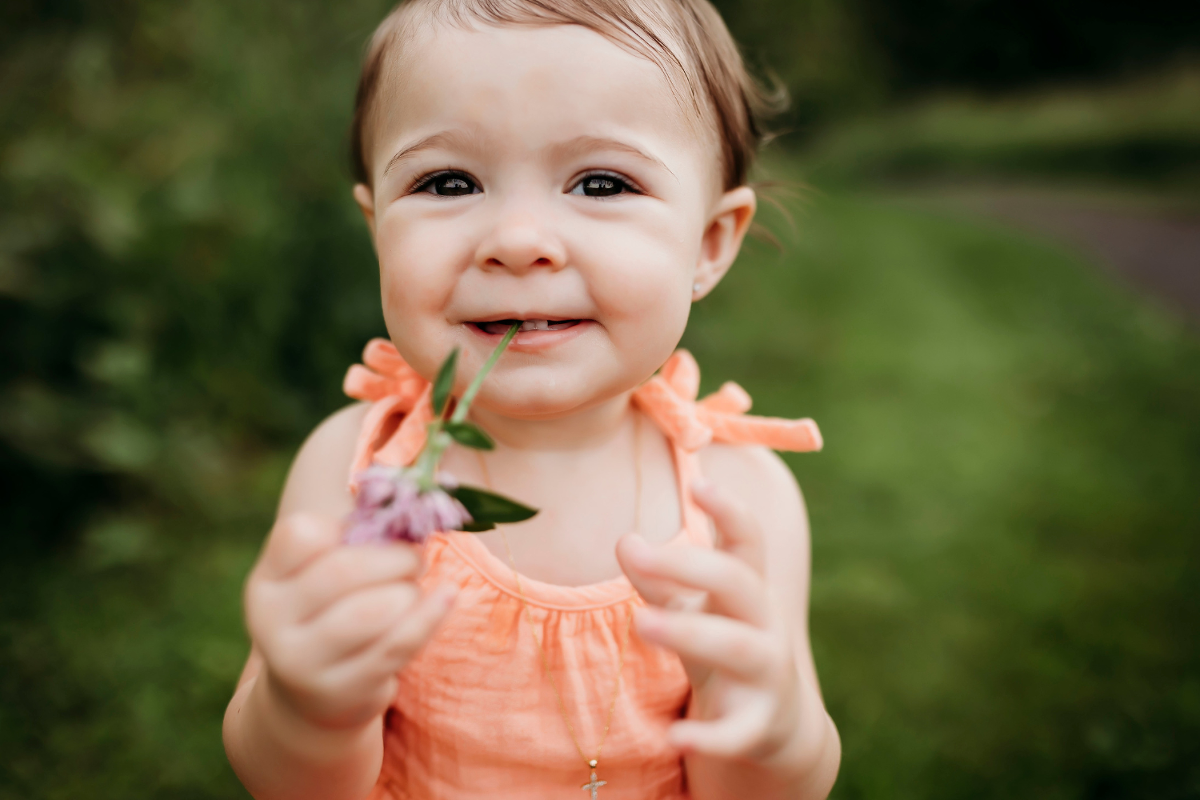
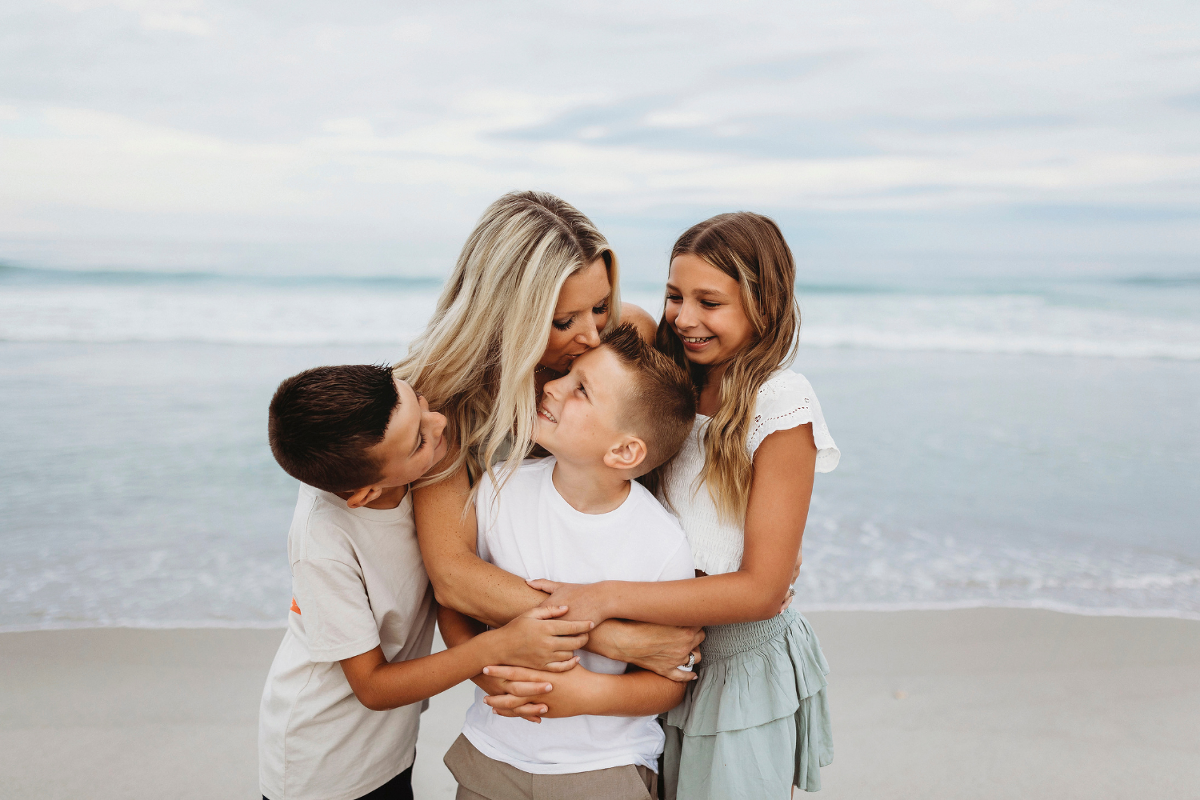
Here are a few more examples with a small F-Stop.
.jpg)
.jpg)
.jpg)
.jpg)
Tomorrow we’re going to talk about shutter speed. Hope you’ll join me! If you have any questions about aperture, don’t hesitate to shoot me an email.
[…] the aperture setting is used to control light and depth of field (how much of the photo is in focus), shutter […]
[…] I like the contrast of the red. The good thing about shooting in manual is that I can choose my aperture, shutter speed, and ISO based on how I was the image to look. If I was shooting in Auto, the camera […]
[…] Focus falls backwards. If you are photographing a group and everyone is on a different plane (we talked about this in the aperture post), you want to focus on whoever is closest to the camera. It is more acceptable to have people […]
[…] Capture pretty bokeh by shooting with a larger aperture. Try using an F-stop around 2.0, 2.2, or 2.5. If you don’t […]
[…] On to the primes. A prime lens is a fixed lens that has only one focal length so you can’t zoom. Prime lenses are known for their image quality and speed, but if you want to get a close up you need to move your feet! A prime lens is great for capturing everyday shots of your children. It’s a great portrait lens because you can use a larger aperture too. […]
[…] at least an f/2.8 aperture (smaller is better!). You’ll want to shoot with the lens wide open. If you’re not comfortable shooting in manual just yet, switch to Aperture Priority […]